BOSU Ball Workouts for Beginners + How to Get Started
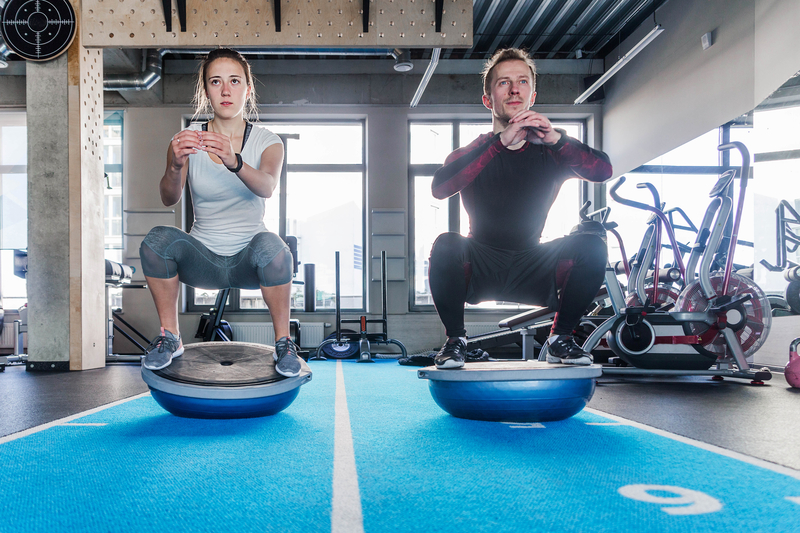
Among all of the new-fangled fitness devices and contraptions out there, you’ve likely seen these half balls being used. You may have even wondered why so many people use them, if they’re really that great, or how to use them. Now you can try it for yourself with BOSU ball workouts for beginners. See for yourself if it lives up to all the hype.
What is a BOSU Ball?
We’ve heard some crazy names for things, but what on earth is a BOSU ball?! Well, first, let’s deconstruct the name. BOSU stands for “both sides up” and is typically pronounced, “bow-sue.” This “ball” is actually half a ball since one side is completely flat. You can use it with either the hard, flat side up (for a larger, somewhat more stable surface). Or, you can place the flat side on the ground and work exclusively on the rounded, rubbery, extremely unstable side.
This balance trainer apparatus was initially conceived by David Weck in the late 1990s and has rapidly become a fan favorite among trainers, rehab specialists, and even pro athletes. Now, you, too, can work some simple BOSU ball workouts for beginners into your exercise plan.
Benefits of Using a BOSU Ball
- Balance & Stability—because the BOSU ball is a permanently unstable surface, you’re forced to use your stabilizer muscles when performing movements. This helps strengthen those areas and increase your balancing ability.
- Core Strength—any time you move, you engage your core muscles, and using the BOSU ball is no exception. In fact, due to the complete instability of the ball, your core is used more than it would be during other movements when stabilization is not an issue.
- Proprioception & Kinesthesia—using the BOSU ball will help you understand how your joints work with your body’s muscular movements. You’ll also become more aware of how your joints move (kinesthetic awareness).
Try This 20-Minute BOSU Ball Workout
Are you ready to try a BOSU ball workout for yourself? Great! Grab your equipment and give these fun exercises a try:
1. Basic Stance
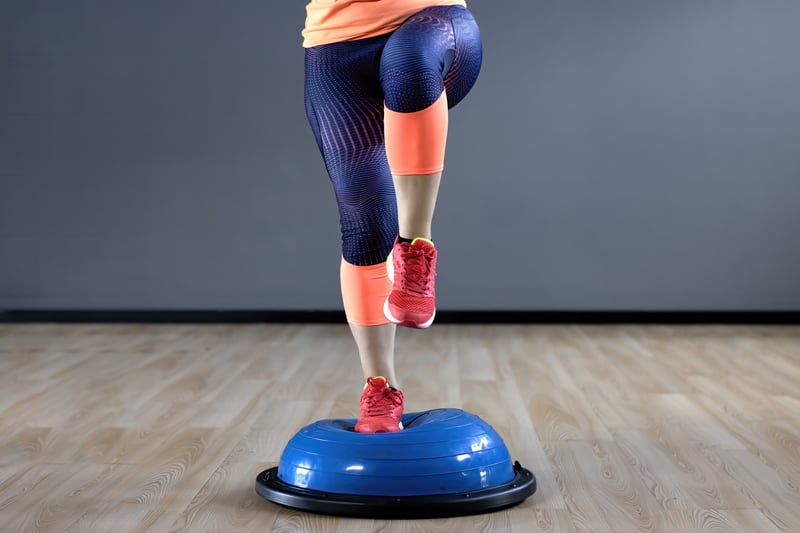
Starting with the basic stance will help you get used to working with the ball. The ball has slightly raised rings on it, so you can line up your body parts equally on both sides. Start by holding onto a stable surface as you step onto the rounded side of the ball. Place both feet on the ball and work on getting your balance. Move your feet, heels, and toes around as you acclimate to the unstable surface. When you are ready, let go of the stable surface you were using for support and maintain your balance.
Keep practicing this until it becomes second nature to you. You can even try marching in place when you feel stable enough to do so. Do this for a few minutes in-between exercises and at the beginning and end of your normal workouts.
2. Side-to-Side Hops
Start with the flat side of the ball down. Stand to the side of the ball and place your right foot on the center of it. Next, push up and over with a jumping movement to land on the floor with your right foot next to the ball, bringing your left foot onto the center of it. Repeat the movement but jump off with your left foot, bringing the right foot back onto the ball. Do two sets of ten jumps to each side.
3. BOSU Ball Push-Ups
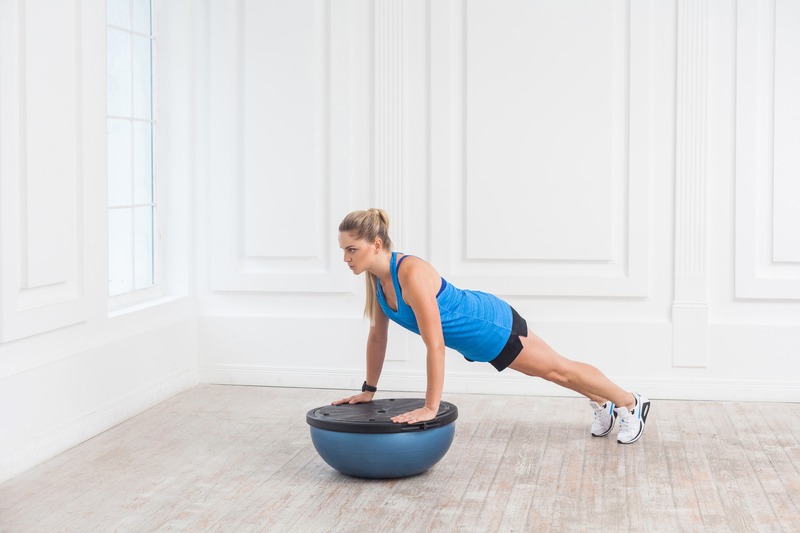
Place the ball on the ground with the flat side up. Place your hands near the outside edges with each hand palm down, aligning your hands under your shoulders. Keep your arms and body straight as you get up onto your toes into a push-up position. Bend at the elbows to lower your body toward the platform side of the ball. While balancing, push back up to straighten your arms and return to the starting position. (You can also do the push-ups on your knees to start). Do two sets of ten.
4. Mountain Climbers
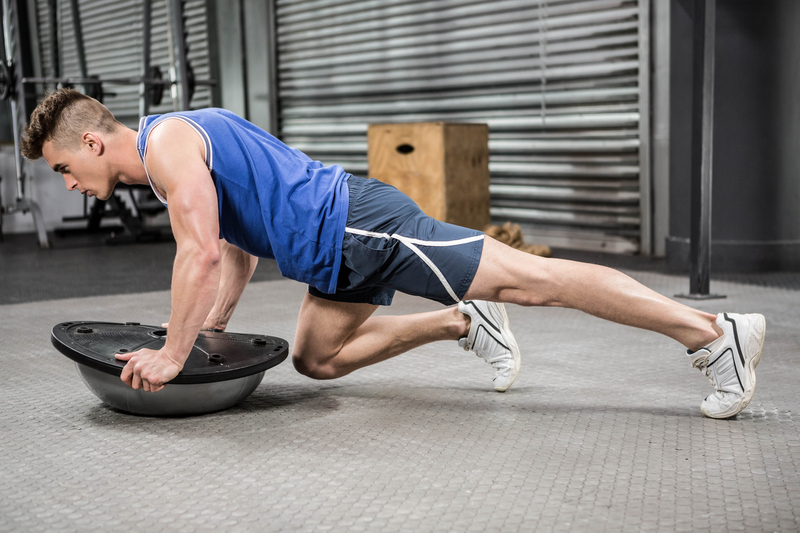
These will give you a good cardio workout while taxing your abdominals in the process. Start with the flat side up and place your hands on the outside edges. Your shoulders should be in line with your hands. Get up on your toes. Quickly alternate between bringing your right knee up to your chest and back to the start and your left knee up to the chest and back to the start. Start slowly until you get the rhythm and then speed up. Do five rounds of ten seconds each.
5. BOSU Ball Plank
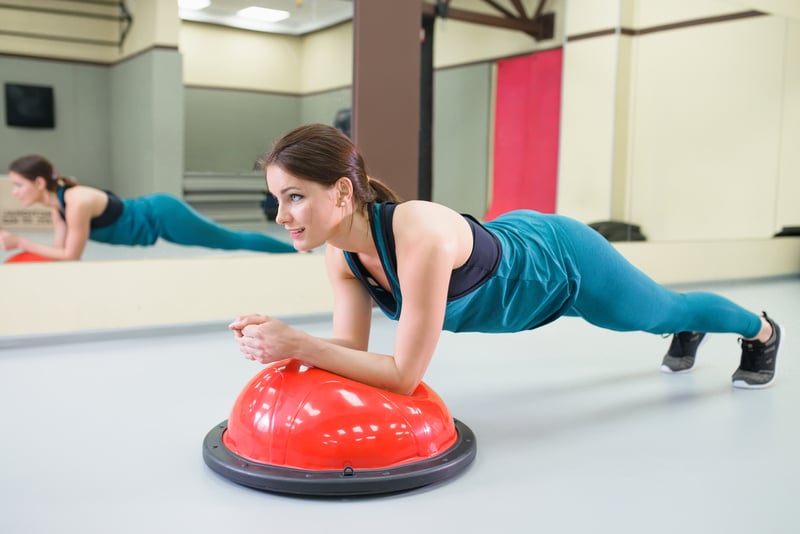
Start with your body straight, toes on the ground, and your forearms on the round side of the ball. Hold this position for 20 seconds. Work your way up to a minute. Once you get good at holding planks on the ball, try reaching forward with alternating arms to touch the ground in front of you. This will intensify the difficulty of this move. Do three sets.
6. Plank Ball Tilt
This has the same start as the regular plank, except instead of using the round side, you’ll use the ball with the flat side up. Now, while in the plank position, tilt the BOSU ball to the right and then to the left. Tilt side to side for five repetitions on each side. Then, switch to a forward and backward movement for five repetitions in each direction.
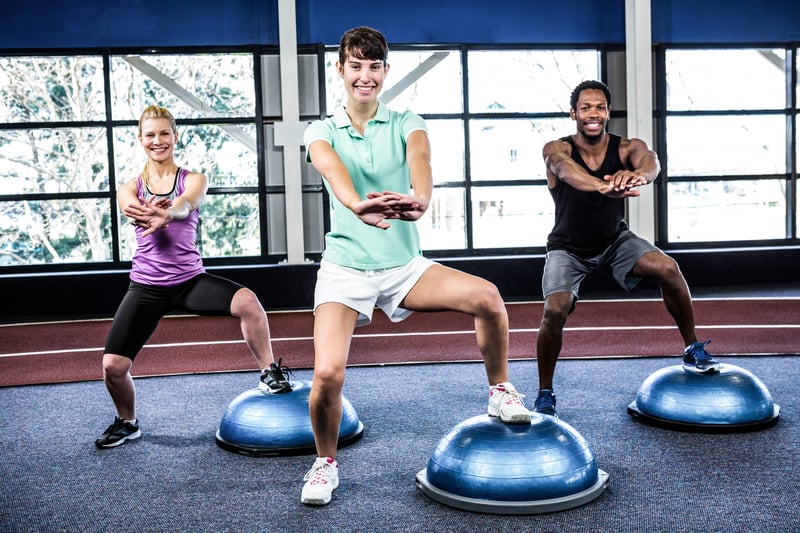
7. BOSU Ball Split Squat
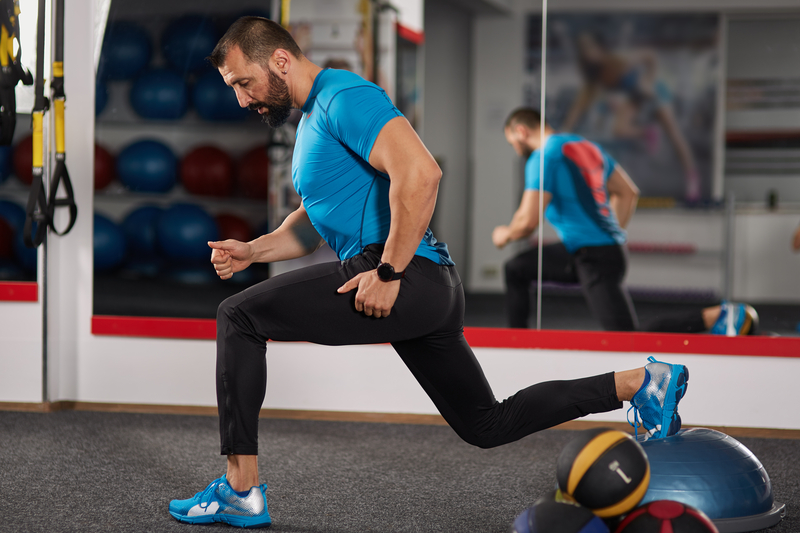
Start by standing about a foot in front of the ball with the flat side down. Clasp your hands in front of you and lift your right leg up and back, placing your toes on the ball behind you. Slowly bend your left knee, keeping your body straight and allowing your right knee to bend along with the movement. Squat down until your left leg is parallel with the ground, and then push back up to standing through your right foot (the one on the ball). Do 15 repetitions on one side and then repeat the entire movement with the opposite side for 3 sets.
Improve your balance, stability, and range of motion while crushing your core workout with this BOSU ball workouts for beginners. Adding this workout to your program will greatly improve your athletic ability and translate to easier daily activities as well.


 7 Signs Your Body is Seriously Low on Collagen (not just wrinkles)
 Health Expert: "Turmeric Doesn't Work (unless...)"
 3 Warning Signs Your Probiotic Supplement is a Total Waste

