
“It hurts so good…” What are we talking about? Foam roller exercises and foam roller stretches, of course! When it comes to fitness, you’re undoubtedly familiar with stretching. But, did you know you can use a foam roller for more than just rolling? Yes, you can also use it for stretching, and it’s a great overall fitness tool!
What is a Foam Roller?
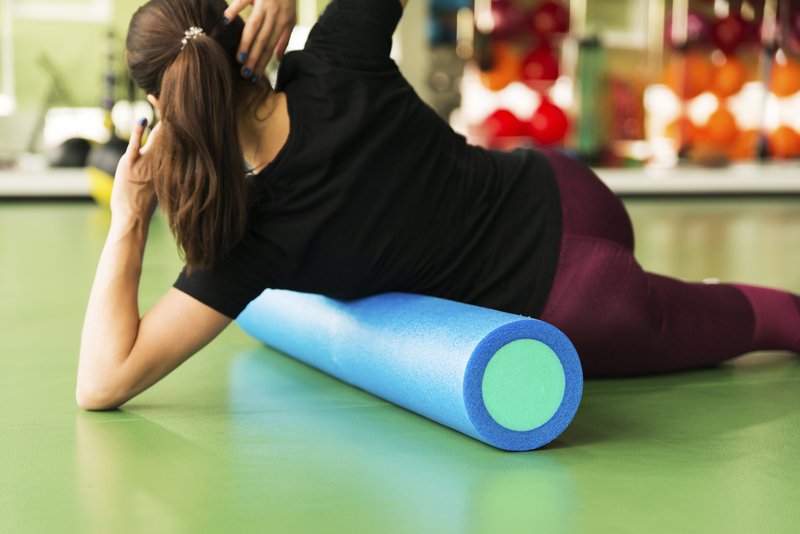
At your average fitness center, gym, and even home gym, you’re likely to find some form of a foam roller. In case you don’t know exactly what that is, a foam roller is a lightweight tube either constructed fully of compressed foam or with foam on the outside. It may or may not have knobs on it to better target trigger points. The basic idea is to roll various body parts along the tube (using your body weight and gravity).
IMPORTANT: A Foam Roller Is Not a Foam Roller Is Not a Foam Roller.
Of course, all foam rollers are not created equal. There are two main types of foam rollers. You can have a full foam cylinder, which is foam all the way through. Or, you can have a plastic tube that’s typically hollow with foam on the outside of the tube.
The compressed foam can come in different thicknesses and different levels of firmness as well as varying circumferences and lengths. Also, you can get a foam roller with a smooth surface or choose one with nubs or ridges for more intense foam-rolling work.

What should you choose? It will depend on why you’re using the foam roller in the first place and what you’re trying to accomplish. You may also find that a softer, smooth surface is much less “painful” to work on than a roller that is more stiff or has nubs on it.
What are the Benefits of Foam Rolling?
Foam roller exercises are wonderful in terms of providing health benefits for tired, achy muscles. It’s actually used often as a recovery tool for physical therapy purposes and can easily be incorporated into your workouts, whether at home or at a gym. As a tool for self-myofascial release (i.e., self-massage), foam rollers can help increase flexibility, break up fascia and scar tissue, and promote healing by increasing circulation to the affected area.
3 Keys to Foam Rolling Safely
As with most things, there can be some risks if you don’t use a foam roller properly. This is not a classic case of “working through the pain,” however. Why? Because using a foam roller properly means you’re most likely going to land yourself on some really sore trigger points.
That being said, you will want to avoid some common mistakes of foam roller exercises, such as:
1. Don’t roll directly on bones or joints
Simply rolling on your backbone or your shins, for example, is not a great idea. There is very little “meat” in those areas, and you can actually do more harm than good. The idea is not to roll on bone or joints, but instead to gently massage and release tension from muscles, tendons, and ligaments surrounding these areas.
2. Limit your time on each area
It’s important to work out the kinks, but at the same time, you don’t want to overdo it by lingering too long on one spot. If you do, you could risk making the injury worse by putting too much pressure on it and causing additional inflammation. So, you’ll want to avoid rolling until you feel excessively sore and you especially don’t want to bruise yourself.
What should you do instead? Just gently roll over the areas in short bursts moving no more than an inch per second, and if you do need to concentrate on a particular spot, watch to make sure you don’t exert too much pressure on it before moving on to the next area. Spend no more than 30 seconds on each tender spot. Instead, try to hit each spot multiple times, hitting each muscle group for just a minute or two when you begin. And if you start to feel tingling, pulsing, or pins and needles, you definitely want to move on and reduce the pressure as you could be limiting blood flow and putting too much pressure on the nerves.
Do remember that fascia runs in all directions, so don’t just roll in one direction. Bend your limbs to the sides and move around as you roll the length of the muscle to hit different spots from multiple directions. And if you run into a particularly sore spot, you may want to focus your rolling above and below that point to help release the tension rather than digging into the trigger point deeply.
3. Be careful with your neck and low back
If you have neck or low back pain, avoid using a foam roller as the spine area may be too sensitive. To avoid injuring yourself, please seek the advice of a professional (like a physical therapist) and perhaps try using a tennis ball or two (or a therapy ball) on each side of the spine instead. Try putting two balls in a sock, so they stay in place on either side of the spine to really work the muscles without putting pressure on the spine.
5 Best Foam Roller Exercises & Stretches
Before you begin your foam roller exercises, take a few minutes to warm up your muscles—or, at the very least, ease into your rolling with softer pressure.
1. Back Stretches
Lie on the ground with the foam roller placed lengthwise under your lower back. With your arms comfortably by your sides (or out to the sides for additional balance), bend at the knees and gently roll along your upper glutes, tailbone, and lower back regions. If you find a sore spot (muscle), pause on the area for a moment until the discomfort dissipates and then move on.
Next, move to your upper back. You may find it easiest to put your hands behind your head. Starting mid-back, roll upwards until you get to your shoulders. Don’t go as far as your neck and avoid your midback as there is less tissue there to work with. Avoid putting pressure directly on the spine. Instead, focus on the muscles in the back.
2. Leg Rolls
Start by sitting upright with your hips and hands on the ground. Place the foam roller just below your knees and use your arms to propel your body both forward and backward, so you roll along your calves and then above your knees to hit your hamstrings and glutes. You should be able to hit both legs at once.
Next, flip over so the tops of your legs (in front), also known as your “quads,” are able to roll up and down on the roller. Again, use your arms for leverage and only roll from your hips to above your knee (stay on the soft tissue and avoid the joint).
Lastly, and this can be a relatively painful exercise, turn to your side, supporting yourself with your arms, and roll up and down the outer side of your leg. This is known as your “IT” band and can become very tight with overuse and under stretching. Move to the opposite side and repeat.
3. Chest Stretch
Place a long foam roller on the ground and lie on it (on your back) lengthwise. Support your head at one end while bending your knees and keeping your feet flat on the floor. Next, allow your arms to float out to the sides and onto the ground while feeling a good stretch through your chest muscles. Allow yourself to just relax completely and melt into the roller. If you’re comfortable, you can even make a “snow angel” motion with your arms to loosen up tight muscles even further. If you work at a computer all day, this will feel divine!
4. Lat Stretches

Lie on your side and place the foam roller under your armpit. Your hips will be on the floor. It’s easiest to bend the knee of the upper leg to give yourself some leverage. Roll along the foam roller so it covers the area from your armpit all the down to mid side. You can alternate leaning slightly forward and slightly backward as you do the movement to cover more of the lat muscle. Repeat on the opposite side.
5. Hip Flexors
Last, but not least, are the hip flexor stretches. Because we sit so much, we tend to get really tight in the hip area, and the foam roller can help you loosen it up. Begin by lying face down on the floor with your forearms on the ground. Place the foam roller beneath your hips. Bend your right leg and bring it halfway up for leverage as your twist slightly onto your left hip. Roll up and down across all planes of the hip (front and side). Repeat on the opposite side.
Foam Roller Exercises & Stretches: A Recap
Now that you’ve finished your foam roller exercises, you may be looking forward to your next. However, you need to give your body time to recover, so wait 24 to 48 hours between rolling sessions. In the meantime, make sure you’re staying hydrated and getting plenty of rest.
While the first few times using a foam roller may be uncomfortable, before you know it, you may enjoy the time and especially the reduced soreness, improved mobility, increased flexibility, and enhanced performance, and you too will be saying it “hurts so good…”

You Might Like


