7-Step Lower-Body Resistance Band Workout

Would you believe me if I told you that you could get an amazing leg workout at home, and you don’t even need to lift big weights? It’s true! How is this possible? Try this simple lower-body resistance band workout to save time and money and get a great leg workout in the process!
What are Resistance Bands and Why You Should Use Them?
Resistance bands are a great addition to your exercise equipment toolbox. The concept of resistance bands initially came from the rehab world and consisted of lengths of stretchy material made of surgical tubing. Because of the flexibility and stretchiness of the tubing, as well as their virtual weightlessness, these bands made for a great way to rehab gently to return to full functioning after surgery or injury.
Benefits of Using Resistance Bands
Increase flexibility—using resistance bands allows you to gently stretch muscles, helping increase mobility and flexibility.
Easy to bring with you—if you’re looking for the most portable workout equipment you can find, this is it! Easily packable and lightweight, these can be your go-to travel workout tools.
Get a workout anywhere—no need for a lot of space or a fitness facility. Do banded workouts anywhere, any time.
Gentle on the joints—the gentle resistance provided by the bands makes them a safe way to strengthen muscles without straining joints, ligaments, and tendons.
Great for rehabilitation—if you’ve had surgery or you’re injured, using resistance bands is a great way to get back on track.
Inexpensive—for a few dollars, you can have a full gym virtually right in the palms of your hands. Various bands can help you get a great workout with different tension levels, and you can target your lower body without machines or gym equipment.
Different Types of Resistance Bands
There are various types of resistance bands to choose from. Usually made from some kind of flexible rubber, bands come in different styles and shapes and can be made with or without handles and may be continuous or a specific length.
Therapy bands—if you’ve suffered an injury, you may be familiar with therapy bands, which are lengths of stretchy material (in different levels of resistance) that are typically cut to length. They often come in different colors with each color signifying a different level of flexibility (difficulty). Usually, you’ll either grasp the band in your hands or wrap the end of the band around your hands. These are mostly used in physical therapy but can be used for regular workouts as well.
Continuous loop bands—next up are continuous loop bands that are formed from one non-ending circular piece of material. You can grasp the ends of the bands or loop them around your hands. You can also step on the band to create resistance or loop it around a stable object.
Bands equipped with handles—you will often see straight bands with handles on the ends as well. These are great for looping around an immoveable object or stepping on, allowing you to grab the handles on either side.
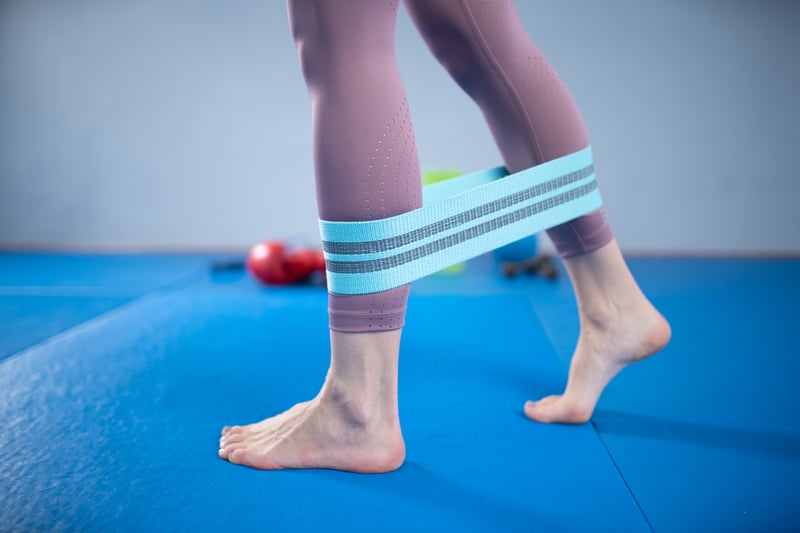
Booty bands—a booty band has become popular over the last few years. This is a thick (in width) band, usually three or more inches in width, that offers a good deal of resistance. Typically made of an elastic fabric, so it’s more comfortable, it’s placed around your legs just above or below the knees. This type of band can offer resistance without the need for handles.
7-Step Lower-Body Resistance Band Workout
Resistance bands are especially useful for building strength, stability, and flexibility for your glutes, hips, pelvis, and your core. Try this lower-body resistance band workout to start, or create your own by replacing gym equipment or free weights with bands instead.
1. Clam Shells

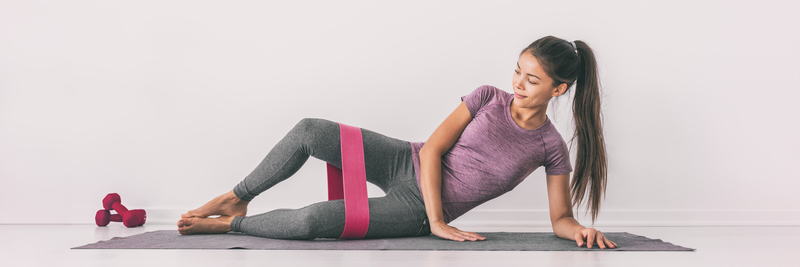
This exercise will begin with you lying on your right side with the continuous loop or booty band around your legs, just above your knees. Get up on your right forearm and bend your knees slightly. Lift your left knee up and back toward the ceiling, while keeping your feet together, feeling the resistance from the band as you lift and lower your left (top) leg. Continue for 10 – 15 repetitions and then repeat on the opposite side.
2. Banded Romanian Deadlift

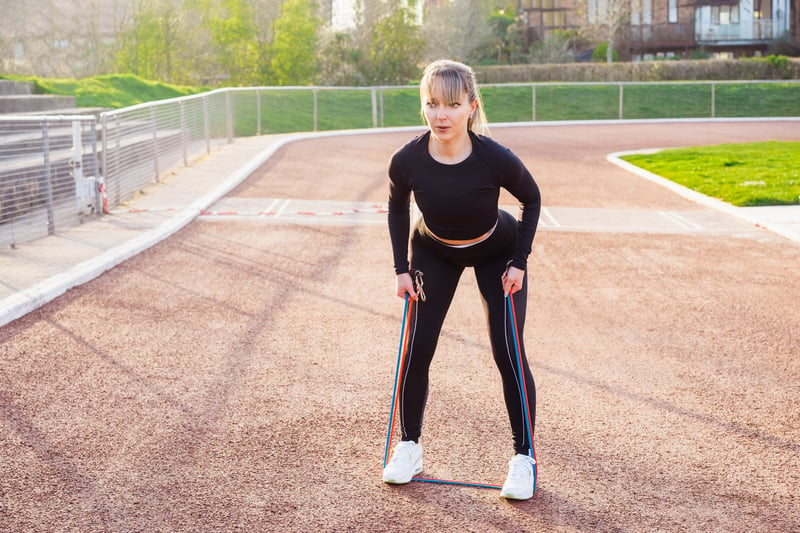
Begin by stepping on the band and grasping one end in each hand while bent over. Push your hips straight out behind you, and hold your head up and back straight. There should be tension on the band in this position. If not, loop the band around your hands until there is. Slowly move to a standing position by straightening your legs and pushing your hips forward, with your shoulders back. Slowly reverse the sequence to bring yourself back to the start and repeat for 10 to 15 reps.
3. Banded Calf Raises
Start by stepping on the band and grasping the ends (or top if using a continuous loop). Make sure there is tension on the band while you are in the standing position. Next, get up on your tiptoes, allowing the band to become taut. Slowly repeat this up and down motion for 10 to 15 reps.
LIMITED TIME OFFER: Get Ageless Turmeric, Our Highly-Bioavailable Turmeric & Ginger Supplement, As Low As $14
Pro tip: Perform this same motion on the edge of a stair, one foot at a time (so you can hold onto the railing). Allow your heel to dip down below level (off the edge of the stair) on the way down.
4. Forward Resistance Band Walk

Take a thick continuous loop band and place it around your ankles. With your hands on your hips, take a giant step forward with your right leg. Next, left your trailing leg (in this case, your left leg) and resist the pressure from the band as you bring it forward and take a giant step. Repeat the process as you take 10 steps in one direction and then 10 return steps.
5. Lateral Band Walk

Begin this exercise just like you did for the forward Resistance Band Walk, except instead of stepping forward, you’ll step to your side. Perform five steps to the left and then five steps to the right.
6. Glute Kicks
Start by standing near a wall or stable surface. Place the band around your legs, just above the knees. Lean forward slightly, bracing yourself against the wall or other stable surface. Lift your right leg and kick up and back, squeezing your glutes and holding that squeeze at the top of the movement for a count of three. Repeat this motion ten times for the right leg and then duplicate the entire sequence for the left leg.
7. Standing Leg Curl
Start by wrapping a looped band around your ankles so there will be tension when you lift your leg. Balance against a wall or other stable surface and lift your right foot by bending at the knee. Squeeze your hamstring muscles to bring your foot up as high as you can behind you. Do ten repetitions on the right and then repeat with the left leg.
You can either do each exercise as a circuit (one after the other) or do three or four sets of each before moving on to the next.
Give this lower-body resistance band workout a go and see if it doesn’t burn out your entire legs, providing a great workout you’ll want to try again and again!


 7 Signs Your Body is Seriously Low on Collagen (not just wrinkles)
 Health Expert: "Turmeric Doesn't Work (unless...)"
 3 Warning Signs Your Probiotic Supplement is a Total Waste

